Let’s be honest, we’ve all been there. You’re hyped for a weekend barbecue, the steaks are marinated, the guests are on their way, and then… nothing. Your trusty grill sputters, heats unevenly, or flat-out refuses to turn on. Before you panic and order pizza, know this: learning How To Replace Grill Parts is often simpler and way more affordable than you think. It’s a skill that can save your dinner party, save you money, and turn you into the undisputed hero of your backyard. This guide will walk you through the entire process, empowering you to bring your grill back from the brink and get it firing on all cylinders again.
Why Bother Replacing Grill Parts Anyway?
You might be tempted to just “make do” with a grill that’s not performing at its peak. But replacing worn-out components isn’t just about getting it to work; it’s about safety, flavor, and efficiency.
- Peak Performance and Flavor: A worn-out heating element or a cracked grate can lead to uneven cooking, hot spots, and flare-ups. New parts ensure consistent heat distribution, giving you those perfect sear marks and deliciously cooked food every single time.
- Safety First, Always: Frayed cords on an electric grill or rusted-out components on any grill are genuine safety hazards. Regular inspection and replacement are non-negotiable for peace of mind.
- Cost-Effectiveness: A new heating element or grill grate costs a fraction of a brand-new grill. A little DIY repair extends the life of your beloved appliance for years to come.
Getting Started: Your Pre-Replacement Checklist
Before you grab a screwdriver, a little prep work goes a long way. Rushing into a repair is how small jobs turn into big headaches.
- Safety Unplugged: This is the golden rule. ALWAYS unplug your electric grill from the power source before you do anything else. No exceptions. Let it cool down completely.
- Identify Your Patient: Find the model number of your grill. It’s usually on a sticker or metal plate on the back or bottom of the unit. This number is your key to ordering the exact right part.
- Order the Right Parts: Use your model number to find Original Equipment Manufacturer (OEM) parts. While generic parts might be cheaper, they often don’t fit perfectly and can compromise safety and performance.
- Gather Your Tools: Most grill repairs don’t require a massive toolbox. You’ll typically need:
- A set of screwdrivers (Phillips and flathead)
- Pliers or a small wrench
- Work gloves to protect your hands
- A cleaning brush and some rags to clean the area as you work
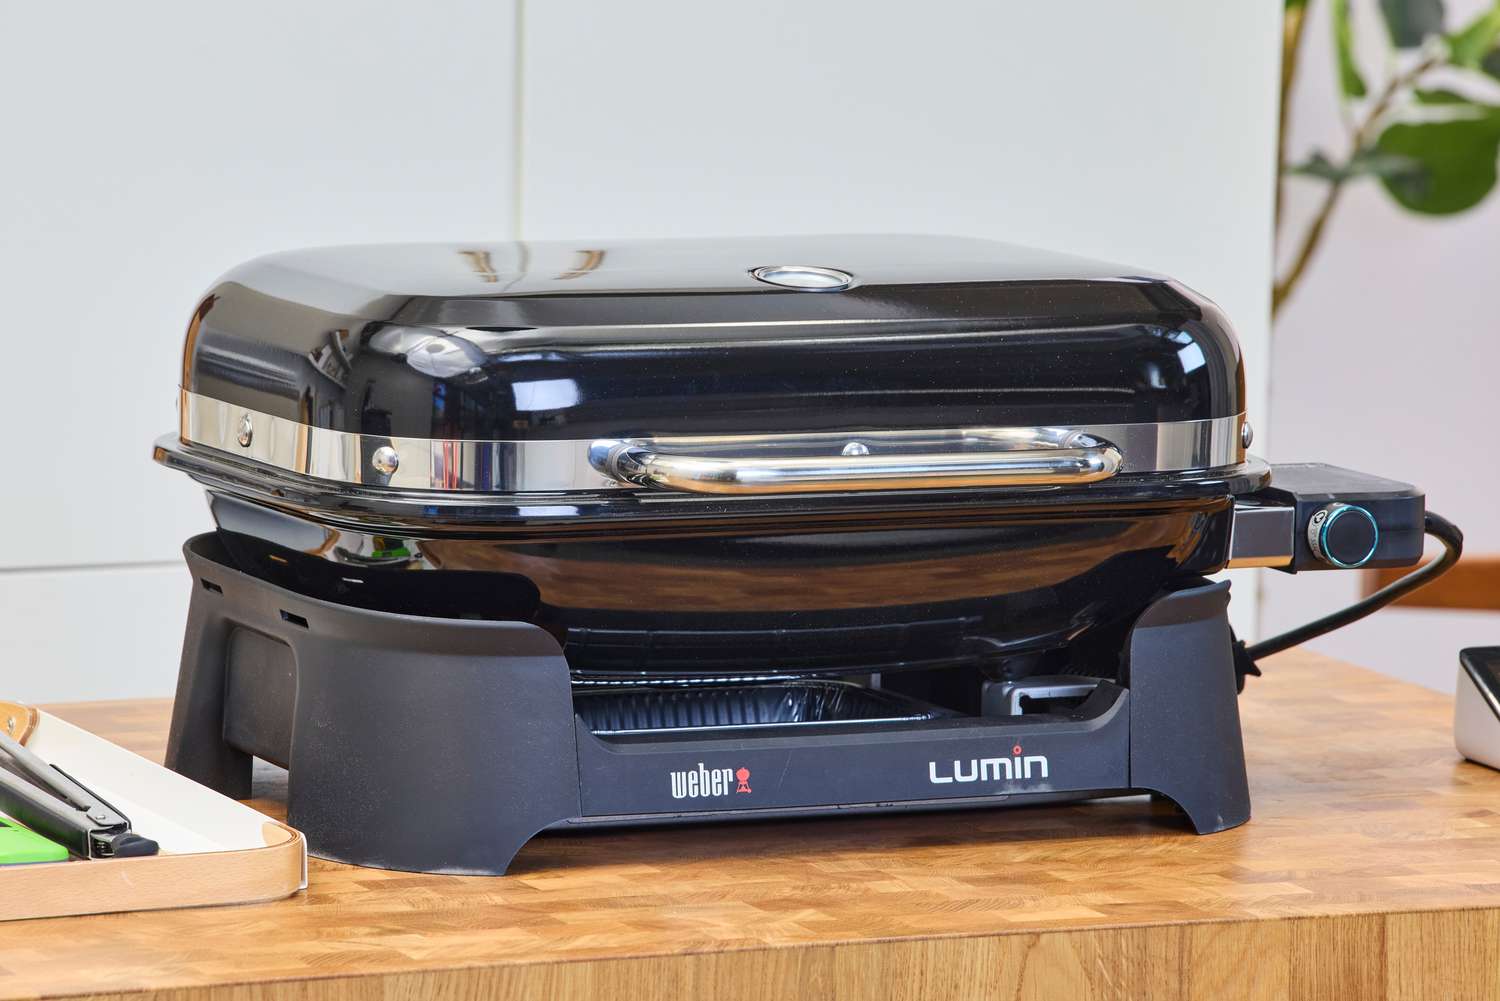
How to Replace Grill Parts: A Focus on Electric Grills
While gas and charcoal grills have a dizzying array of burners, tubes, and ignitors, one of the unsung beauties of electric grills is their simplicity. There are fewer moving parts, which means fewer things to break and an easier repair process. Let’s break down the most common replacements.
Swapping Out the Grill Grate
Why do it? Over time, grates can rust, chip, or become so caked with grime that no amount of scrubbing can save them. A fresh grate means better sear marks and a cleaner cooking surface.
How to do it:
- Ensure the grill is unplugged and cool.
- Simply lift the old grate out of the grill body. It should come out easily.
- Take this opportunity to deep clean the inside of your grill bowl and the heating element below.
- Place the new, shiny grate into position. That’s it!
Replacing the Heating Element
Why do it? This is the heart of your electric grill. If your grill won’t heat up, heats unevenly, or trips the circuit breaker, a faulty heating element is the most likely culprit.
How to do it:
- Unplug the grill! I’m saying it again because it’s that important.
- Remove the grill grate to get clear access to the element.
- The heating element is usually held in place by a couple of screws or clips. You’ll see where it connects to the power terminal.
- Carefully disconnect the wires from the terminals. They might pull off or be held by small nuts. Take a picture with your phone before you disconnect so you remember how it goes back together.
- Unscrew the mounting brackets holding the element in place and lift the old element out.
- Position the new element and re-secure it with the mounting screws.
- Reconnect the wires to the new terminals, referencing the photo you took. Ensure the connections are snug.
- Place the grill grate back on, plug in the grill, and test it out.
Changing the Drip Tray
Why do it? The drip tray catches all the grease and drippings. If it gets warped, rusted through, or just too nasty to clean, a replacement is a quick and satisfying fix.
How to do it:
- Slide the old drip tray out from its slot, which is usually under the grill body.
- Dispose of any grease responsibly (don’t pour it down the drain!).
- Slide the new, clean drip tray into place. It’s one of the easiest steps in learning how to replace grill parts.
|
Our Picks for the Best Electric Grill in 2026
As an Amazon Associate I earn from qualifying purchases.
|
||
| Num | Product | Action |
|---|---|---|
| 1 | Indoor Grill and Air Fryer Combo with Ceramic Accessories, 7-IN-1 Digital Display, 5.2 QT Electric Smokeless, 500°F Max, Large View Window, Roast, Bake & Dehydrate, Adjustable Temps, Easy Clean |

|
| 2 | OVENTE Electric Sandwich Maker with Non-Stick Plates, Indicator Lights, Cool Touch Handle, Easy to Clean and Store, Perfect for Cooking Breakfast, Grilled Cheese, Tuna Melts and Snacks, Black GPS401B |
|
| 3 | Chefman Panini Press Grill and Gourmet Sandwich Maker Non-Stick Coated Plates, Opens 180 Degrees to Fit Any Type or Size of Food, Stainless Steel Surface and Removable Drip Tray, 4 Slice, Black |
|
| 4 | bella Electric Griddle with Warming Tray - Smokeless Indoor Grill, Nonstick Surface, Adjustable Temperature & Cool-touch Handles, 10\" x 18\", Copper/Black |
|
| 5 | Gourmia Smokeless Indoor Grill & Air Fryer with Recipe Book – Electric Grill for Indoor Use, 5‑in‑1 Countertop Cooker, Cast-Iron Grate, 1650W, Glass Lid, Dishwasher-Safe Plates |
|
| 6 | Chefman XL Electric Griddle with Removable Temperature Control, Immersible Flat Top Grill, Burger, Eggs, Pancake Griddle, Nonstick Extra Large Cooking Surface, Slide Out Drip Tray, 10 x 20 Inch |
|
| 7 | Presto 07061 22-inch Electric Griddle With Removable Handles, Black, 22-inch |
|
| 8 | BELLA XL Electric Ceramic Titanium Griddle, Make 15 Eggs At Once, Healthy-Eco Non-stick Coating, Hassle-Free Clean Up, Large Submersible Cooking Surface, 12\" x 22\", Copper/Black |
|
| 9 | George Foreman 4-Serving Removable Plate Electric Grill and Panini Press, George Tough Non-Stick Coating, Drip Tray Catches Grease, Black |
|
| 10 | George Foreman® Fully Submersible™ Grill, NEW Dishwasher Safe, Wash the Entire Grill, Easy-to-Clean Nonstick, Black/Grey |
|
The Electric Grill Advantage: Less Hassle, More Sizzle
If you’ve ever helped a friend replace the guts of a gas grill—the rusted-out burners, the clogged gas tubes, the faulty ignitor—you’ll immediately appreciate the streamlined design of an electric grill. There are no gas lines to worry about, no propane tanks to swap, and no ceramic briquettes to replace.
The maintenance is straightforward: keep it clean, protect the heating element, and if a part fails, it’s typically a simple, plug-and-play style replacement. This is a huge part of the appeal for apartment dwellers, busy families, and anyone who wants delicious grilled flavor without the mechanical complexity.
“Modern grilling is about convenience and control. People want fantastic results without the traditional hassle. The simple, user-serviceable design of high-quality electric grills is a game-changer. It puts the power back in the hands of the home cook.”
— Chef Isabella Rossi, Culinary Technology Consultant
Pro Tips for Extending the Life of Your Grill Parts
The best repair is the one you don’t have to make. A little preventative care will keep your grill happy for many seasons.
- Clean After Every Use: Don’t let grease and food particles build up. A quick scrape of the grates while they’re still warm does wonders.
- Gentle Cleaning Only: Avoid harsh metal scrapers on the heating element itself. A soft brush or cloth is all you need.
- Cover It Up: If you store your grill outside, even on a covered patio, a proper grill cover protects it from moisture and dust, the two biggest enemies of electrical components.
- Store It Properly: In the off-season, storing your electric grill indoors in a dry place like a garage or shed will dramatically increase its lifespan.
Frequently Asked Questions (FAQ)
Q: How often should I replace my grill grates?
A: It depends on the material and how you care for them. With regular cleaning, high-quality grates can last for many years. You should replace them when you see significant rust, chipping of the non-stick coating, or warping.
Q: Can I use a generic heating element for my electric grill?
A: It’s strongly recommended to use an OEM part designed for your specific model. Generic parts may not fit correctly, can have different wattage ratings affecting performance, and could pose a safety risk.
Q: What’s the most common part to fail on an electric grill?
A: The heating element is the most common part to fail over time, as it does all the heavy lifting. The second would likely be the temperature controller cord, which can get damaged or wear out at the connection points.
Q: Is it cheaper to replace parts or buy a new grill?
A: For major components like a heating element or grate, it is almost always significantly cheaper to replace the part. If the main body of the grill is rusted or multiple components have failed at once, it might be time to consider a new unit.
Q: My Electric Grill isn’t heating up. Is it always the heating element?
A: Not always. First, check that the outlet is working and that the temperature controller cord is fully plugged into both the outlet and the grill. A faulty controller cord can also be the culprit. If those are fine, then the heating element is the next logical part to inspect.
Mastering how to replace grill parts is a liberating skill for any home cook. It demystifies the appliance and connects you more deeply to the cooking process. You’ll not only save money but also gain the confidence to tackle any issue that comes your way. So next time your grill acts up, don’t see it as a disaster—see it as an opportunity to roll up your sleeves, become a DIY champion, and get back to what truly matters: grilling up delicious food for the people you love.